Hive安装及使用
本文中,将选择ubuntu16.04(AMD64)操作系统作为例,进行Hive的安装。
Hive软件版本可以从https://hive.apache.org/downloads.html选择相关版本进行下载,因我们搭建的hadoop为2.7版本,选择2.3.4Hive版本进行安装。 在下载页有相关软件兼容性的描述。
前置条件:安装java、安装hadoop。
选择在hadoop集群的namenode上安装hive,选择在slaver-4安装mysql作为hive元数据存储数据库。
Hive数据库节点安装
该节点主要安装mysql数据库,将hive元数据存储在该数据库中。
1、在slaver-4上安装mysql或者mariadb,并在数据库中创建hive用户,同时赋予所有的权限:
MariaDB [(none)]> CREATE USER 'hive'@'%' IDENTIFIED BY '1qaz2wsx'; # %为可以通过任何主机使用HIVE用户远程登录。
MariaDB [(none)]> GRANT ALL PRIVILEGES ON *.* TO hive IDENTIFIED BY '1qaz2wsx'  WITH GRANT OPTION;
MariaDB [(none)]> flush privileges;
注意,确保mysql自身允许远程访问,主要修改其配置文件中的bind-address。
    root@slaver-4:/etc/mysql/mariadb.conf.d# vi 50-server.cnf
bind-address = 0.0.0.0
    # 修改配置后重启mysql /etc/init.d/mysql restart
通过新增加的用户登录MySQL,创建一个数据库,这里命名为hive,数据库名是可以随意定义的。
root@slaver-4:/opt# mysql -u hive -p
Enter password:
Welcome to the MariaDB monitor.  Commands end with ; or \g.
Your MariaDB connection id is 43
Server version: 10.0.38-MariaDB-0ubuntu0.16.04.1 Ubuntu 16.04

Copyright (c) 2000, 2018, Oracle, MariaDB Corporation Ab and others.

Type 'help;' or '\h' for help. Type '\c' to clear the current input statement.

MariaDB [(none)]> create database hive;
Query OK, 1 row affected (0.00 sec)
Hive服务端安装
在hadoop节点namenode上安装hive服务端;
1、解压安装包到指定目录;
root@master:/opt# tar -xzvf apache-hive-2.3.4-bin.tar.gz -C /opt/
2、将MySQL的JDBC驱动包拷贝到hive的安装目录的lib中,驱动包下载地址为https://dev.mysql.com/downloads/file/?id=480090。
root@slaver-4:/home/ubuntu/mysql-connector-java-5.1.47# cp mysql-connector-java-5.1.47.jar  /opt/hive/lib/
    root@master:/opt# mv apache-hive-2.3.4-bin/ hive
    root@master:/opt# vi /home/hadoop-1/.bashrc

    # set hive environment
    export HIVE_HOME=/opt/hive
    export PATH=$PATH:$HIVE_HOME/bin

    root@master:/opt# source /home/hadoop-1/.bashrc
3、修改配置文件:
       root@master:/opt/hive/conf# cp hive-default.xml.template hive-site.xml ##注意是hive-site.xml

       root@master:/opt/hive/conf# cp hive-default.xml.template hive-site.xml
       root@master:/opt/hive/conf# cp hive-log4j2.properties.template  hive-log4j2.properties
       root@master:/opt/hive/conf# cp hive-exec-log4j2.properties.template  hive-exec-log4j2.properties
       root@master:/opt/hive/conf# vi hive-site.xml

<property>
       <name>javax.jdo.option.ConnectionURL</name>
       <value>jdbc:mysql://slaver-4:3306/metastore?createDatabaseIfNotExist=true</value>
       <description>JDBC connect string for a JDBC metastore</description>
   </property>

   <property>
       <name>javax.jdo.option.ConnectionDriverName</name>
       <value>com.mysql.jdbc.Driver</value>
       <description>Driver class name for a JDBC metastore</description>
   </property>

   <property>
       <name>javax.jdo.option.ConnectionUserName</name>
       <value>root</value>
       <description>username to use against metastore database</description>
   </property>

   <property>
       <name>javax.jdo.option.ConnectionPassword</name>
       <value>1qaz2wsx</value>
       <description>password to use against metastore database</description>
   </property>
   <!-- 是否在当前客户端中显示查询出来的数据的字段名称 -->
   <property>
       <name>hive.cli.print.header</name>
       <value>true</value>
       <description>Whether to print the names of the columns in query output.</description>
   </property>

   <!-- 是否在当前客户端中显示当前所在数据库名称 -->
   <property>
       <name>hive.cli.print.current.db</name>
       <value>true</value>
       <description>Whether to include the current database in the Hive prompt.</description>
   </property>

查看hive-site.xml配置,会看到配置值含有"system:java.io.tmpdir"的配置项
新建文件夹在hive目录下新建一个tmp目录
将含有"system:java.io.tmpdir"的配置项的值修改为如上地址
把${system:java.io.tmpdir}改成:/opt/hive/tmp

       root@master:/opt/hive/conf#  grep -vE  '^#|^$' hive-env.sh
       HADOOP_HOME=/opt/hadoop-2.7.7
       export JAVA_HOME=/usr/lib/jdk
       export HADOOP_HOME=/opt/hadoop-2.7.7
4、修改文件权限;将/opt/hive权限修改为hadoop用户,在hadoop用户下启动hive。
5、启动hive服务;
hadoop@ubuntu:/opt/hive/conf$ schematool -dbType mysql -initSchema # 初始化数据库
Metastore connection URL:       jdbc:mysql://localhost:3306/metastore?createDatabaseIfNotExist=true
Metastore Connection Driver :   com.mysql.jdbc.Driver
Metastore connection User:      hive
Starting metastore schema initialization to 2.3.0
Initialization script hive-schema-2.3.0.mysql.sql
Initialization script completed
schemaTool completed


hive --service metastore 1>/dev/null 2>&1 &
hive --service hiveserver2 1>/dev/null 2>&1 & #启用后默认端口为10002.可通过ip:10002查看hive相关信息。
错误记录:
hive数据库初始化报错:
SLF4J: Class path contains multiple SLF4J bindings.
SLF4J: Found binding in [jar:file:/usr/local/hive/lib/log4j-slf4j-impl-2.6.2.jar!/org/slf4j/impl/StaticLoggerBinder.class]
SLF4J: Found binding in [jar:file:/usr/local/hadoop/share/hadoop/common/lib/slf4j-log4j12-1.7.10.jar!/org/slf4j/impl/StaticLoggerBinder.class]
SLF4J: See http://www.slf4j.org/codes.html#multiple_bindings for an explanation.
解决方法:移除其中一个jar包.
检查:
    hive>
            >
            >
            >
            >
            > dfs -ls /;
    Found 2 items
    drwx-wx-wx   - hadoop-1 supergroup          0 2019-03-12 09:25 /tmp
    drwxr-xr-x   - hadoop-1 supergroup          0 2019-03-13 14:32 /user
    hive> dfs -ls /user;
    Found 4 items
    drwxr-xr-x   - hadoop-1 supergroup          0 2019-03-06 10:11 /user/hadoop
    drwxr-xr-x   - hadoop-1 supergroup          0 2019-03-06 10:12 /user/hadoop-1
    drwxr-xr-x   - hadoop-1 supergroup          0 2019-03-08 11:36 /user/hbase
    drwxr-xr-x   - hadoop-1 supergroup          0 2019-03-13 14:32 /user/hive
    hive>
    hive>
>
>     create table dataflow(
>
>     phoneNumber string,
>
>     upflow int,
>
>     downflow int
>
>     );
    OK
    Time taken: 1.31 seconds
    hive>
            > show tables;
    OK
    dataflow
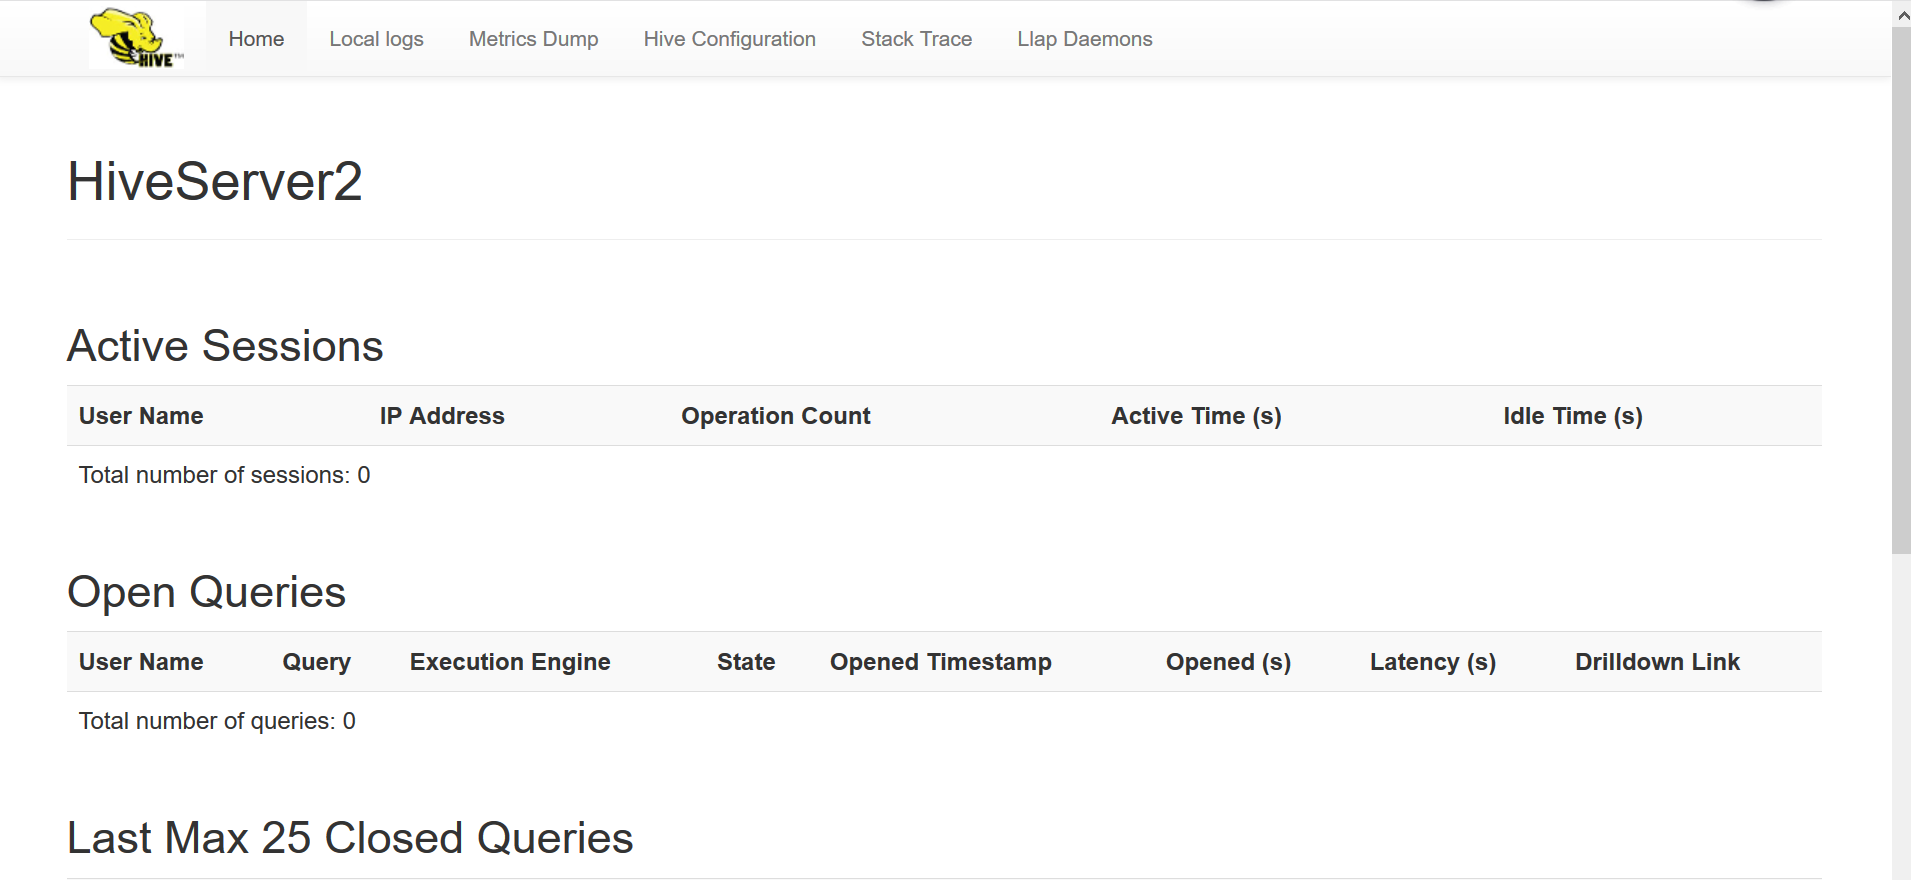
通过webui可以访问hive相关信息。
Hive on Spark
Hive on Spark.前置条件 hive spark hadoop 正常运行.
HIVE version 2.3.4 Spark version 2.4.0 Spark 启动: ./start-all.sh && ./start-slave.sh spark://ubuntu:7077
HIVE 默认计算引擎为mr,如果修改为spark则按照如下方式配置即可:
1 修改hive-site.xml配置如下:
<property>
   <name>spark.home</name>
   <value>/opt/spark</value>
  </property>
  <property>
  <name>spark.yarn.jars</name>
  <value>hdfs://192.168.121.128:9000/spark-jars/* </value>
</property>

<property>
    <name>hive.execution.engine</name>
    <value>spark</value>
    <description>
      Expects one of [mr, tez, spark].
      Chooses execution engine. Options are: mr (Map reduce, default), tez, spark. While MR
      remains the default engine for historical reasons, it is itself a historical engine
      and is deprecated in Hive 2 line. It may be removed without further warning.
    </description>
  </property>
2 将spark相关jar包按照配置中spark.yarn.jars信息,传输到hdfs指定目录下.
# hdfs dfs -mkdir /spark-jars
# hdfs dfs -put /opt/spark/jars/* .jar /spark-jars
#
3 将spark 相关的jar包软链接到hive lib下.
hadoop@ubuntu:/opt/hive/lib$ history|grep ln
1309  ln -s /opt/spark/jars/scala-library-2.12.7.jar .
1310  ln -s /opt/spark/jars/spark-core_2.12-2.4.0.jar .
1311  ln -s /opt/spark/jars/spark-network-common_2.12-2.4.0.jar .
4 调整yarn-site.xml文件配置.
<property>
    <name>yarn.nodemanager.vmem-check-enabled</name>
        <value>false</value>
    <description>Whether virtual memory limits will be enforced for containers</description>
    </property>
   <property>
       <name>yarn.nodemanager.vmem-pmem-ratio</name>
    <value>4</value>
    <description>Ratio between virtual memory to physical memory when setting memory limits for containers</description>
</property>
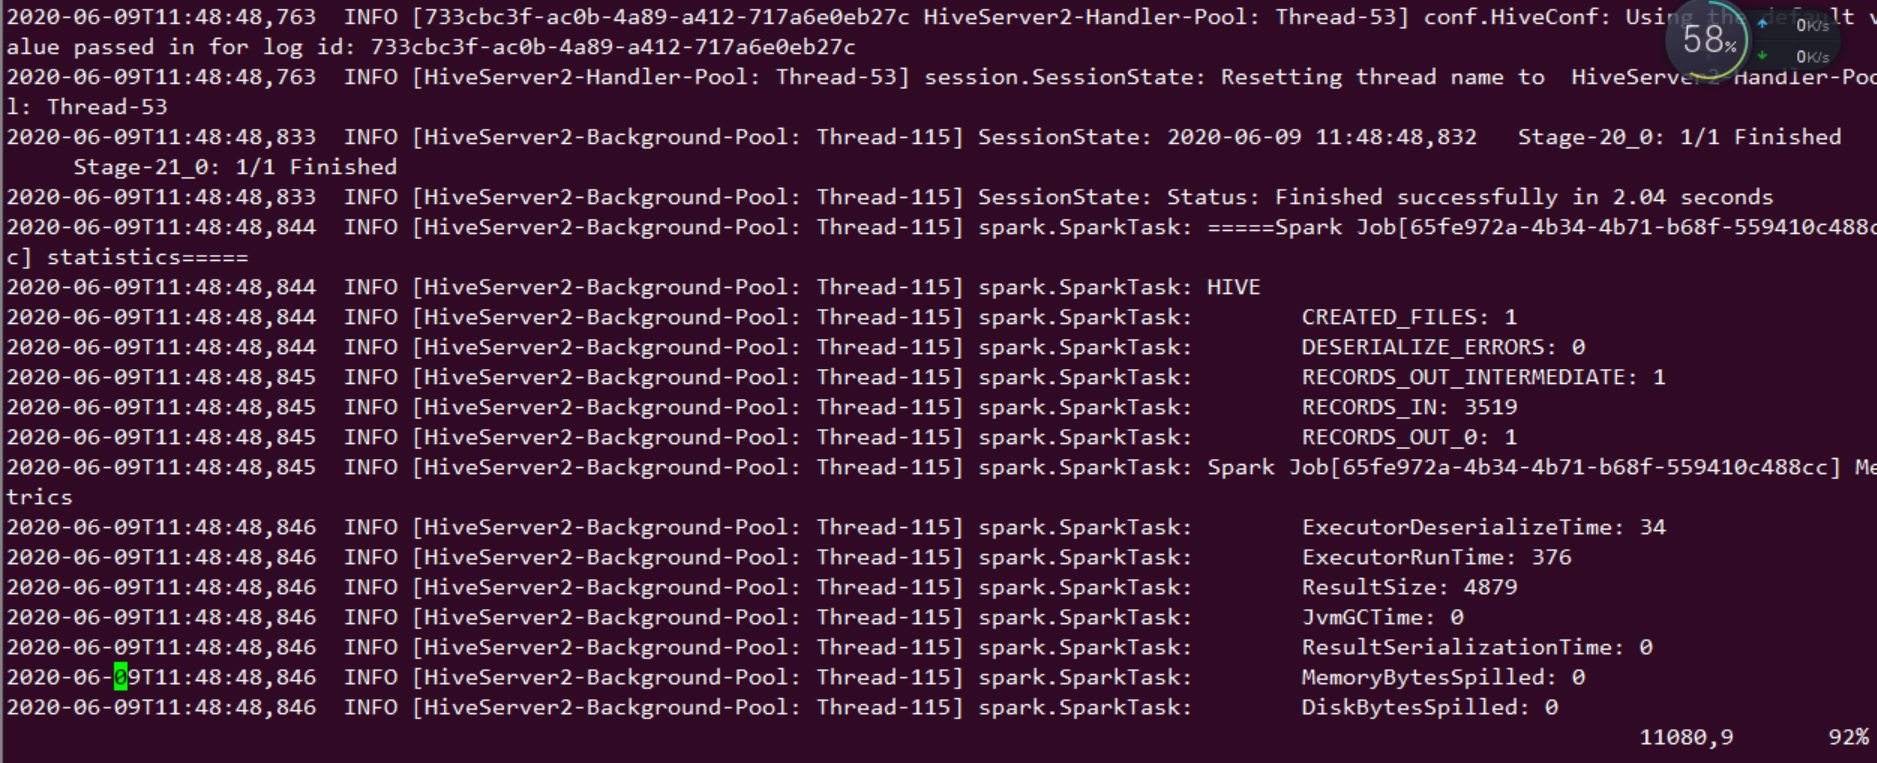
5 重启hive,做count运算验证。
hadoop@ubuntu:/opt/hive/bin$ ./beeline
Beeline version 2.3.4 by Apache Hive
beeline> !connect jdbc:hive2://192.168.121.128:10000
Transaction isolation: TRANSACTION_REPEATABLE_READ
0: jdbc:hive2://192.168.121.128:10000> select count (*) from zhaoyuanjie;
+------+
| _c0  |
+------+
| 0    |
+------+
1 row selected (0.23 seconds)
0: jdbc:hive2://192.168.121.128:10000> select count (*) from tongchenginfo;
+-------+
|  _c0  |
+-------+
| 3519  |
+-------+
1 row selected (28.308 seconds)
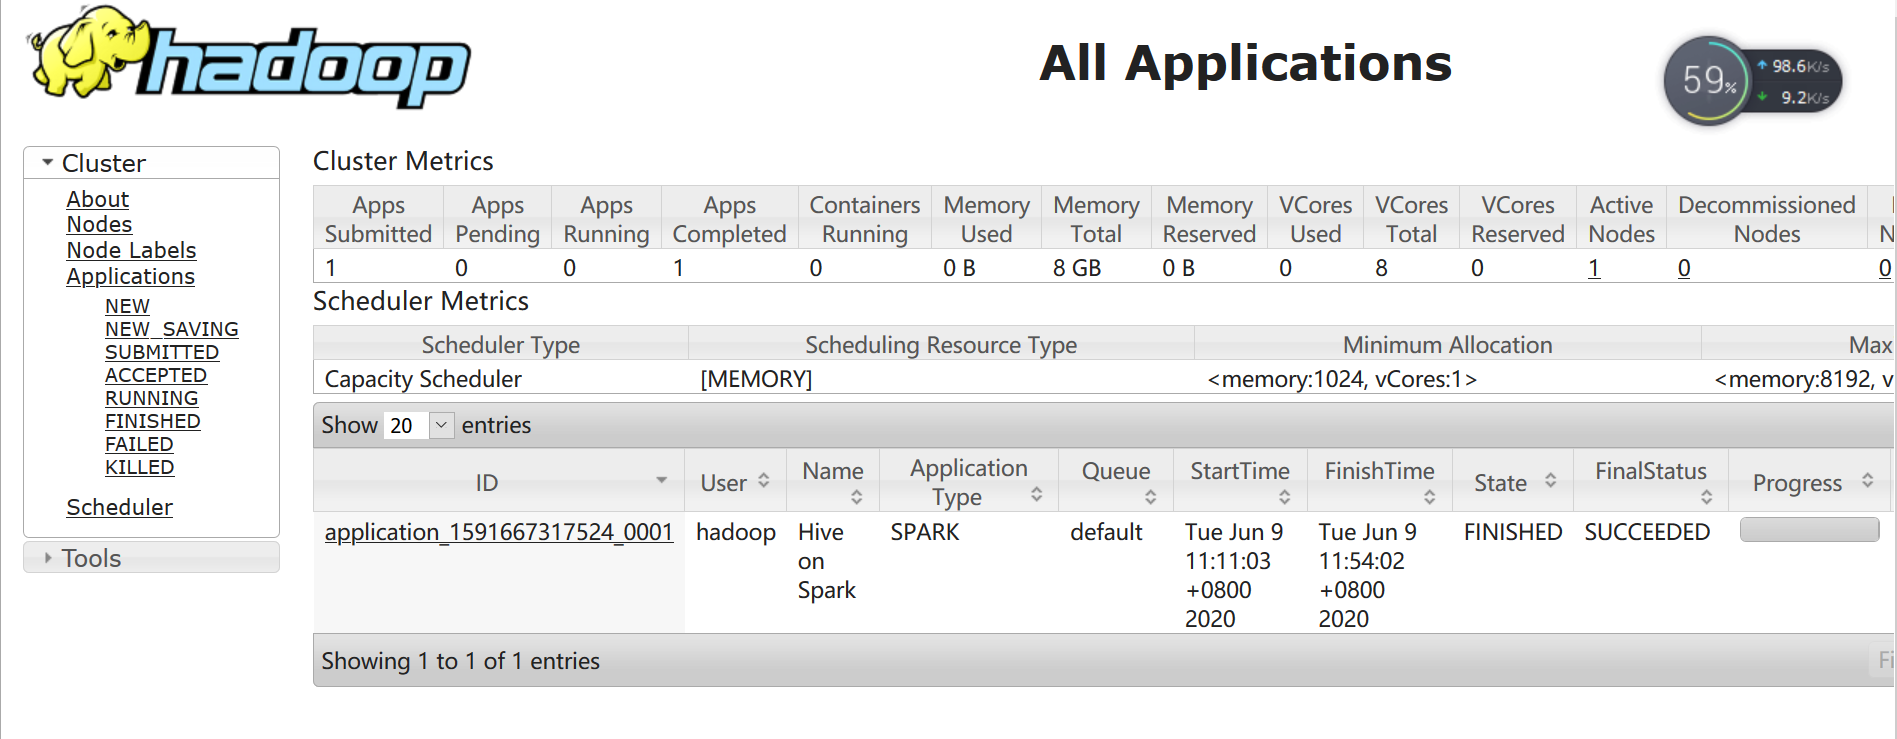
通过 http://ip:8088 查看日志信息.